Enhance workplace safety with our diverse selection of industrial products and specialized polyurethane offerings, designed to suit your warehouse, refinery, or construction needs.
Explore our comprehensive range of safety products designed to meet your specific needs. From concept to creation, we are dedicated to delivering excellence in every aspect of our service. Let us exceed your expectations and enhance safety in your industry today.
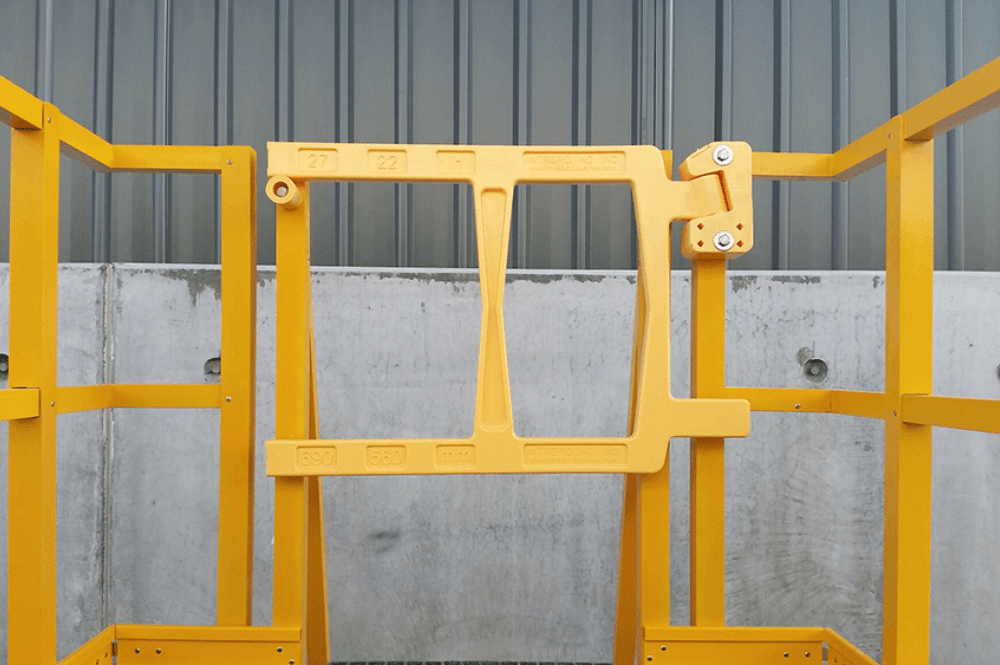
Gates
Fall Protection Gates for elevated surfaces and Pedestrian Barrier Gates for floor level traffic.
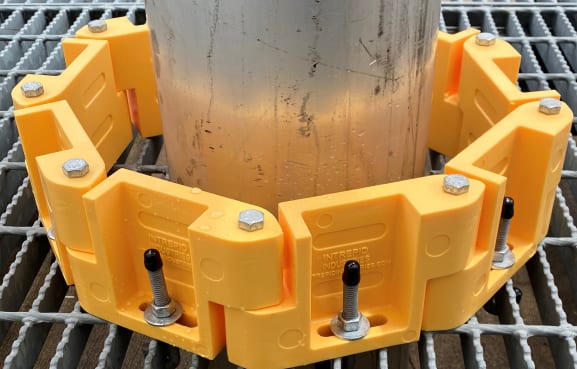
The material that we use is called Instant Set Polymer (ISP). It is a strong, rigid polyurethane that can be molded as well as easily machined into a variety of shapes.
Intrepid Industries values its Foreign Distribution Partners as integral components of our global network. Through collaborative efforts, we ensure seamless distribution of our exceptional safety products worldwide, maintaining our commitment to excellence and customer satisfaction across borders.
With Intrepid Industries, customers can trust that their safety needs are in capable hands, resulting in peace of mind and lasting satisfaction.
“A truly wonderful group of people to work with. If you need anything from pedestrian barriers, pedestrian gates, barrier gates, or a world more of options - these are the people you want to work with!”
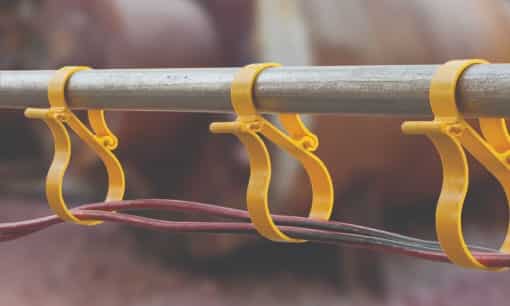
"Stephen and Paxton are great to work with! Their professionalism and expertise is unparalleled. If you need safety gates, toe boards, safety hooks, PPE accessories, or custom polyurethane parts - Intrepid Industries is the one stop shop."
At Intrepid Industries, we pride ourselves on over four decades of experience, delivering quality products and exceptional customer service. From Reaction Injection Molding (RIM) to crafting robust materials like Instant Set Polymer (ISP), we prioritize quality craftsmanship. Trust us to provide customized solutions tailored to your industry needs, showcasing our flexibility and expertise.